接前一篇文章使用Android Studio查看Android Lollipop源码, 我们知道,仅仅看代码,提高是比较有限的,而且理解起来也比较肤浅,往往过目就忘. 而自己写过的代码,往往会印象比较深刻,在写的时候也会比较容易理解流程. 所以我们在看代码的同时, 如果能修改代码, 在手机上跑起来并看到修改的效果,这无疑会加快看代码的效率和积极性. 所以这篇文章,就讲解一下如何自己编译AndroidL的源码,并且在Nexus5上跑起来. 至于为何需要自己编译固件,而不是直接安装Google给出的工厂固件?原因是Google给出的工厂固件是User版本,是没法随心所欲Push东西进去的. 所以我们需要编译自己的Userdebug版本.
本文假设你已经下载了AndroidL的源码,并且有一台Nexus5手机(手机系统开发人员必备), 如果你还没有AndroidL的源码,或者你有源码但是没有配置编译的环境,那么 Initializing a Build Environment 和Downloading the Source这两篇文章你应该先去看一下(我又一次假设你会翻墙,如果你不会翻墙,那么下代码也是一个痛苦的事情). 这后面的教程Google官网也有教程.所以我只针对Nexus5进行讲解.
另外你需要知道AOSP,AOSP即Android Open Source Project 汉语意思是:谷歌开放源代码项目.我们通过Google官方下载的源代码,就是AOSP的代码, 其中是不包含Google开发的那些个应用的,各个厂商拿到的也是这个版本,在这个版本的基础上进行修改. 而Google发布的工厂固件则是包含全套Google服务的. 厂商如果想安装Google服务,就需要过Google的那一套认证,比较麻烦,而且价格不菲,鉴于Google在国内的尴尬地位,国内很多厂商都没有过这个认证.
1. 初始化编译环境
1 | . build/envsetup.sh |
2. 加载机型
1 | lunch |
3. 选择要编译的机器
1 | You're building on Linux |
3.1 机型对照表
| DEVICE | CODE NAME | BUILD CONFIGURATION |
|---|---|---|
| Nexus 6 | shamu | aosp_shamu-userdebug |
| Nexus Player | fugu | aosp_fugu-userdebug |
| Nexus 9 | volantis (flounder) | aosp_flounder-userdebug |
| Nexus 5 (GSM/LTE) | hammerhead | aosp_hammerhead-userdebug |
| Nexus 7 (Wi-Fi) | razor (flo) | aosp_flo-userdebug |
| Nexus 7 (Mobile) | razorg (deb) | aosp_deb-userdebug |
| Nexus 10 | mantaray (manta) | full_manta-userdebug |
| Nexus 4 | occam (mako) | full_mako-userdebug |
| Nexus 7 (Wi-Fi) | nakasi (grouper) | full_grouper-userdebug |
| Nexus 7 (Mobile) | nakasig (tilapia) | full_tilapia-userdebug |
| Galaxy Nexus (GSM/HSPA+) | yakju (maguro) | full_maguro-userdebug |
| Galaxy Nexus (Verizon) | mysid (toro) | aosp_toro-userdebug |
| Galaxy Nexus (Experimental) | mysidspr (toroplus) | aosp_toroplus-userdebug |
| PandaBoard (Archived) | panda | aosp_panda-userdebug |
| Motorola Xoom (U.S. Wi-Fi) | wingray | full_wingray-userdebug |
| Nexus S | soju (crespo) | full_crespo-userdebug |
| Nexus S 4G | sojus (crespo4g) | full_crespo4g-userdebug3.2 |
3.2 三个版本说明版本
| BUILDTYPE | USE |
|---|---|
| user | limited access; suited for production |
| userdebug | like “user” but with root access and debuggability; preferred for debugging |
| eng | development configuration with additional debugging tools |
选择aosp_hammerhead-userdebug之后,会有下面的确认信息:
1 | ============================================ |
4. 生成驱动目录
接下来需要在Android官网下载 Nexus5所需要的驱动:
| HARDWARE COMPONENT | COMPANY | DOWNLOAD | MD5 CHECKSUM | SHA-1 CHECKSUM |
|---|---|---|---|---|
| NFC, Bluetooth, Wi-Fi | Broadcom | Link | 2c398994e37093df51b105d63f0eb611 | 991346159c95ae75f760014a6822b8b3e8667700 |
| Camera, Sensors, Audio | LG | Link | 74cf8235e6bb04da28b2ff738b13eee9 | 175dd5bae81bb54030d072cb0f0b4ec81eb3f71f |
| Graphics, GSM, Camera, GPS, Sensors, Media, DSP, USB | Qualcomm | Link | 0a43395e175d3de3dc312d8abdcb4f20 | 007cf9d49f0409d5c703e7f2811fd153fee22353 |
下载完成后,解压出来是三个.sh文件,放到Android源码目录下面,然后执行.会将相关驱动放到vender目录下面.
5. 执行编译命令
1 | make -j8 |
如果没有出错的话,在经过漫长的时间之后,编译成功:
1 | Installed file list: out/target/product/hammerhead/installed-files.txt |
6. 刷机命令
Nexus5关机状态下,长按音量下+电源,即可进入recovery模式, 然后在源码根目录下执行下面命令:
1 | fastboot -w flashall |
刷机成功后会自动重启
1 | ~/Android-SourceCode fastboot -w flashall |
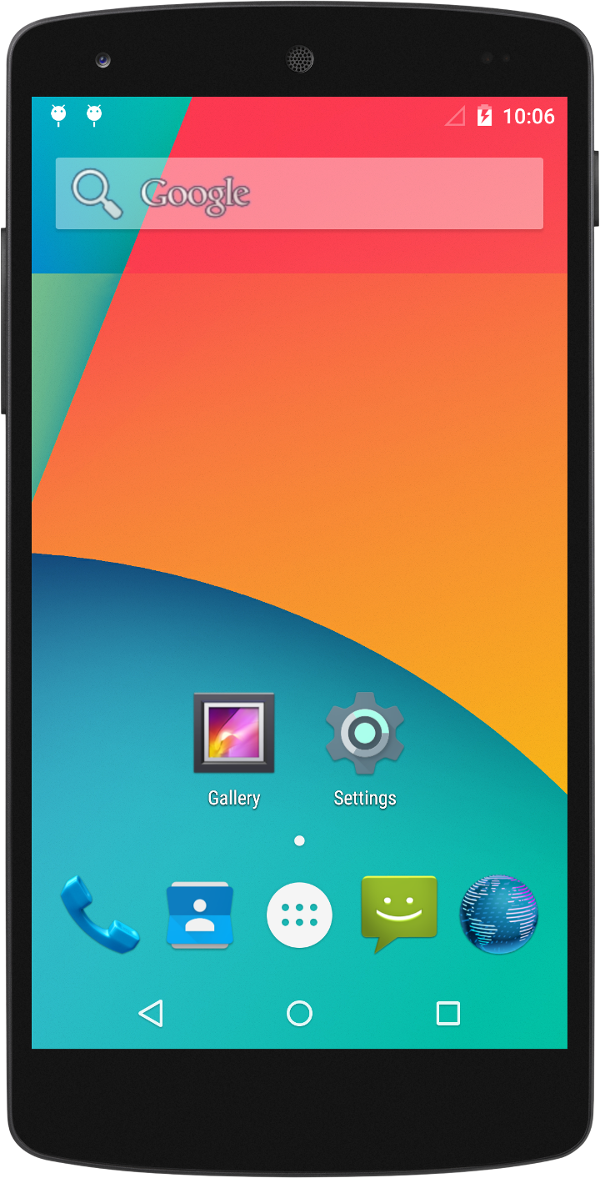
7.秀桌面
关于我 && 博客
下面是个人的介绍和相关的链接,期望与同行的各位多多交流,三人行,则必有我师!
- 博主个人介绍 :里面有个人的微信和微信群链接。
- 本博客内容导航 :个人博客内容的一个导航。
- 个人整理和搜集的优秀博客文章 - Android 性能优化必知必会 :欢迎大家自荐和推荐 (微信私聊即可)
- Android性能优化知识星球 : 欢迎加入,多谢支持~
一个人可以走的更快 , 一群人可以走的更远